
Hello all its Flick,
Mr. Harold’s table top brother in arms and silent contributor
to Clear Horizons. I’d like to thank you
all for your comments on our work. Harold has ask me to post some
picks of my lava field build’s sooooo here I go. I hope you enjoy them and I hope
they inspire you.
Thank you.
For this build I used dense pink foam used in home insulation that can be bought at most big hardware stores like Lows or Home depot. The base
is just hard board like Masonite, some white glue to hold the whole this together,
sand paper and versus other tools like knives and tweezers to cut and sculpt
the foam into rock forms.


Next cut the Base board to the shape you want and sand the
edges so you get a smother transition from your playing surface to your piece.

Now the fun part! Cut the foam into the size and shape you
want your rocks to be “don’t worry if it’s not perfect remember real rocks aren't perfect” when you’re done white glue them
to your base.


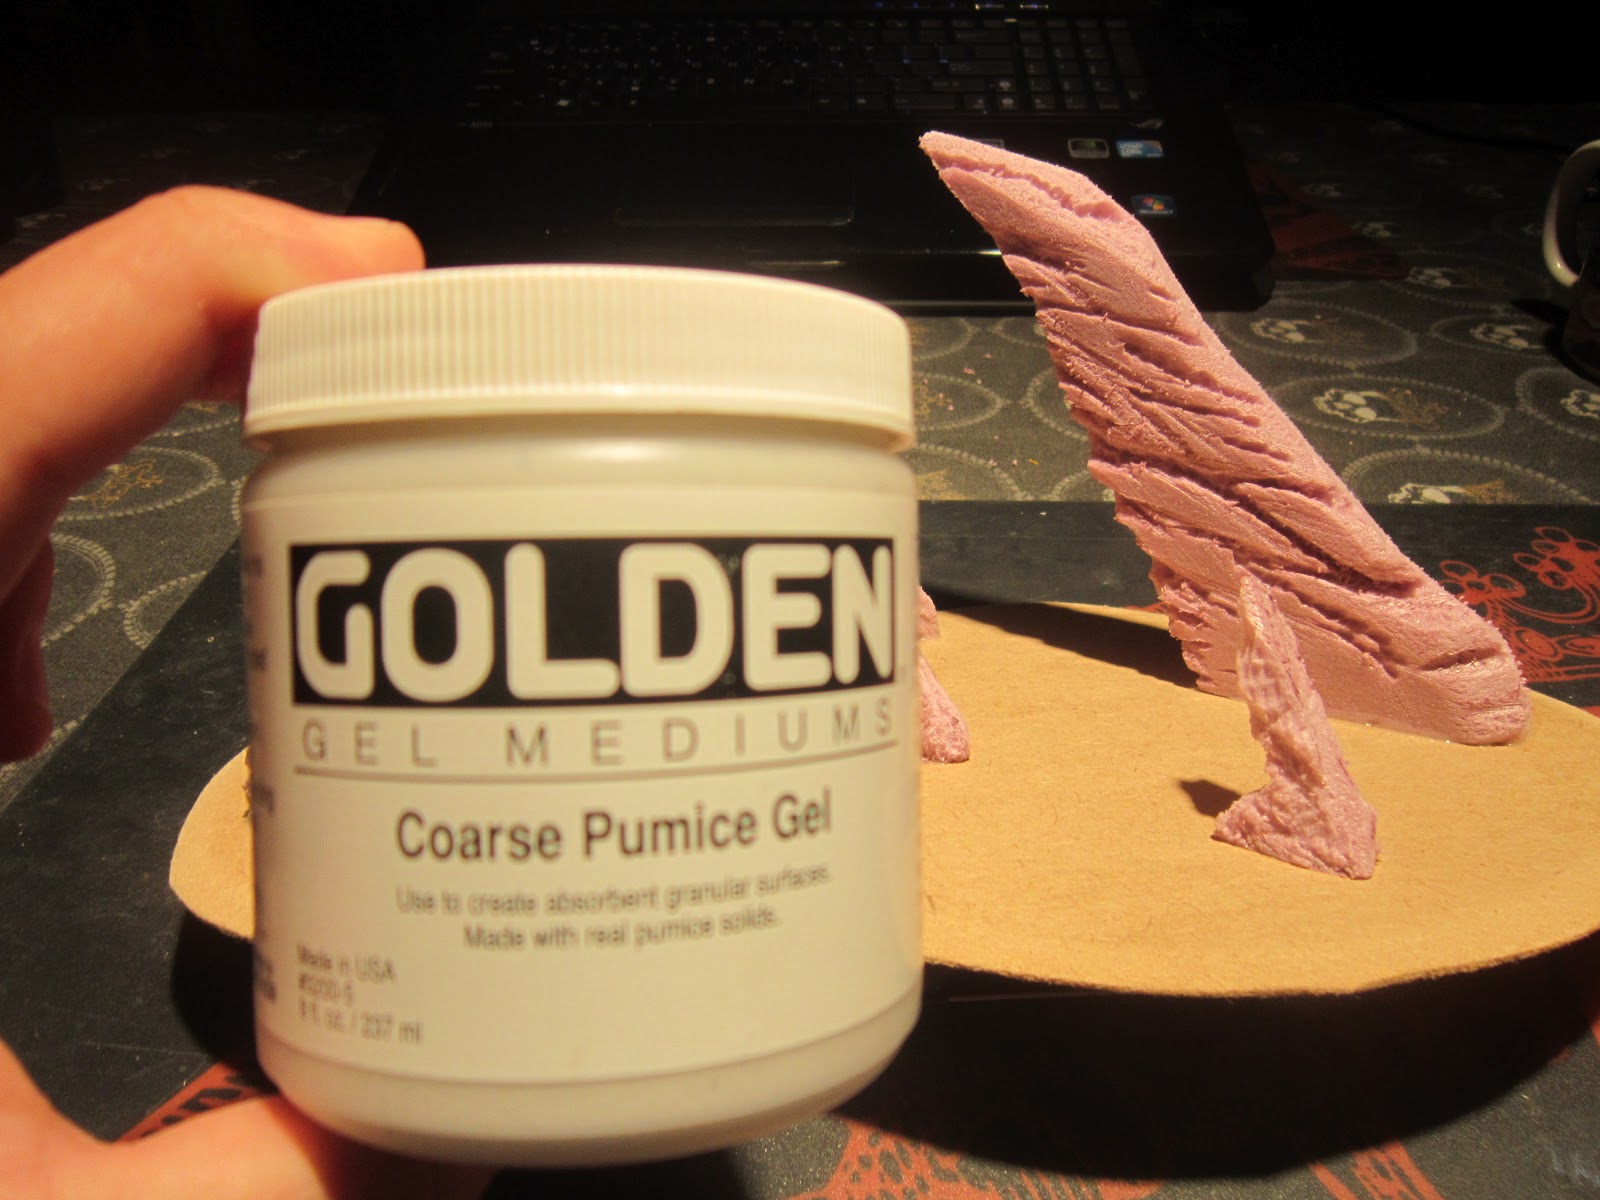
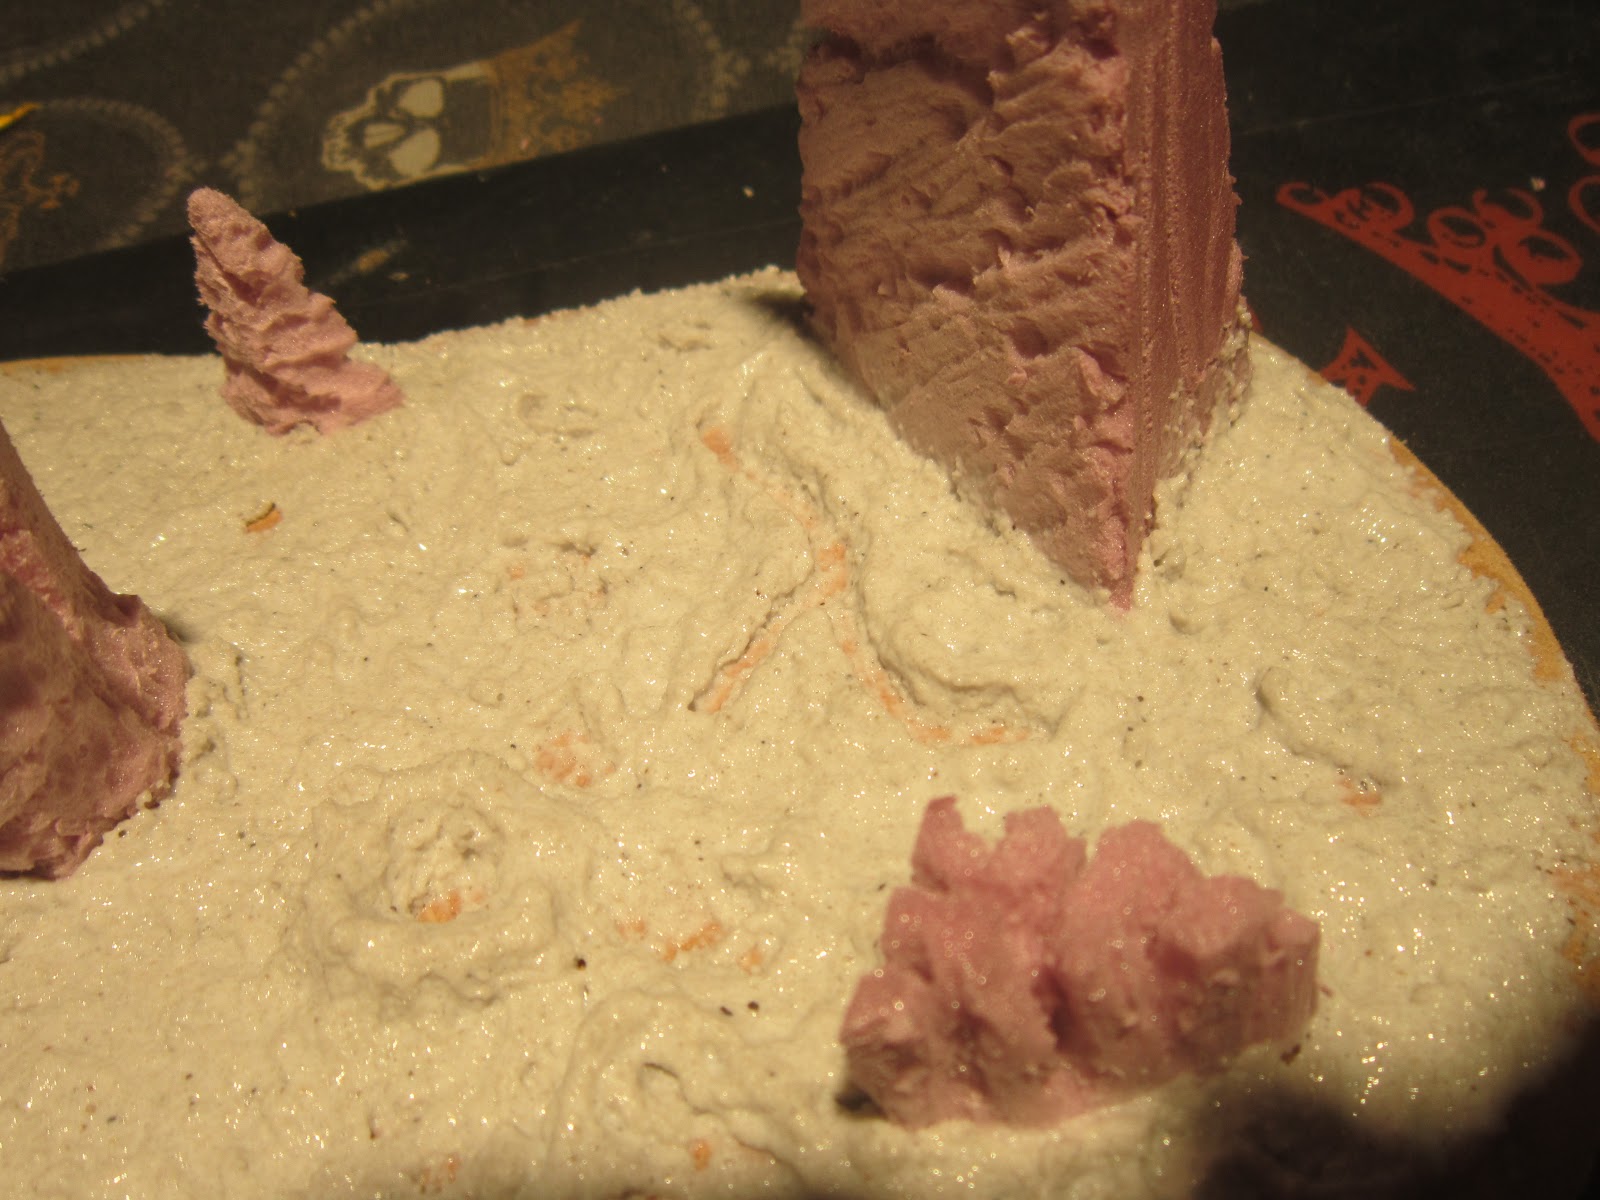
Once
your Glue is dry you can start applying the ground basing medium. I like to use
Golden gel mediums Coarse Pumice Gel. I apply this with a wet brush so it’s
easy to move around the board surface While applying the gel you can make craters
and cracks with your brush. Drying time
will vary depending how thick you put it on, I like to let mine dry for at
least two days.


In a few days I will post the paint up. Once the piece has dried
and I get home from Work.
Thanks for reading.