All the pieces laid out. There are a lot of different options! Three weapon options for each arm, two different arms (for posing) missile launchers, and three different hull mounted weapons (Chain gun, autocannon, none). This picture shows the small amount of flash on some of the pieces. Most of them were very clean.
I've assembled the legs here in a pose that is slightly dynamic and stable. I will be magnetizing the hull.
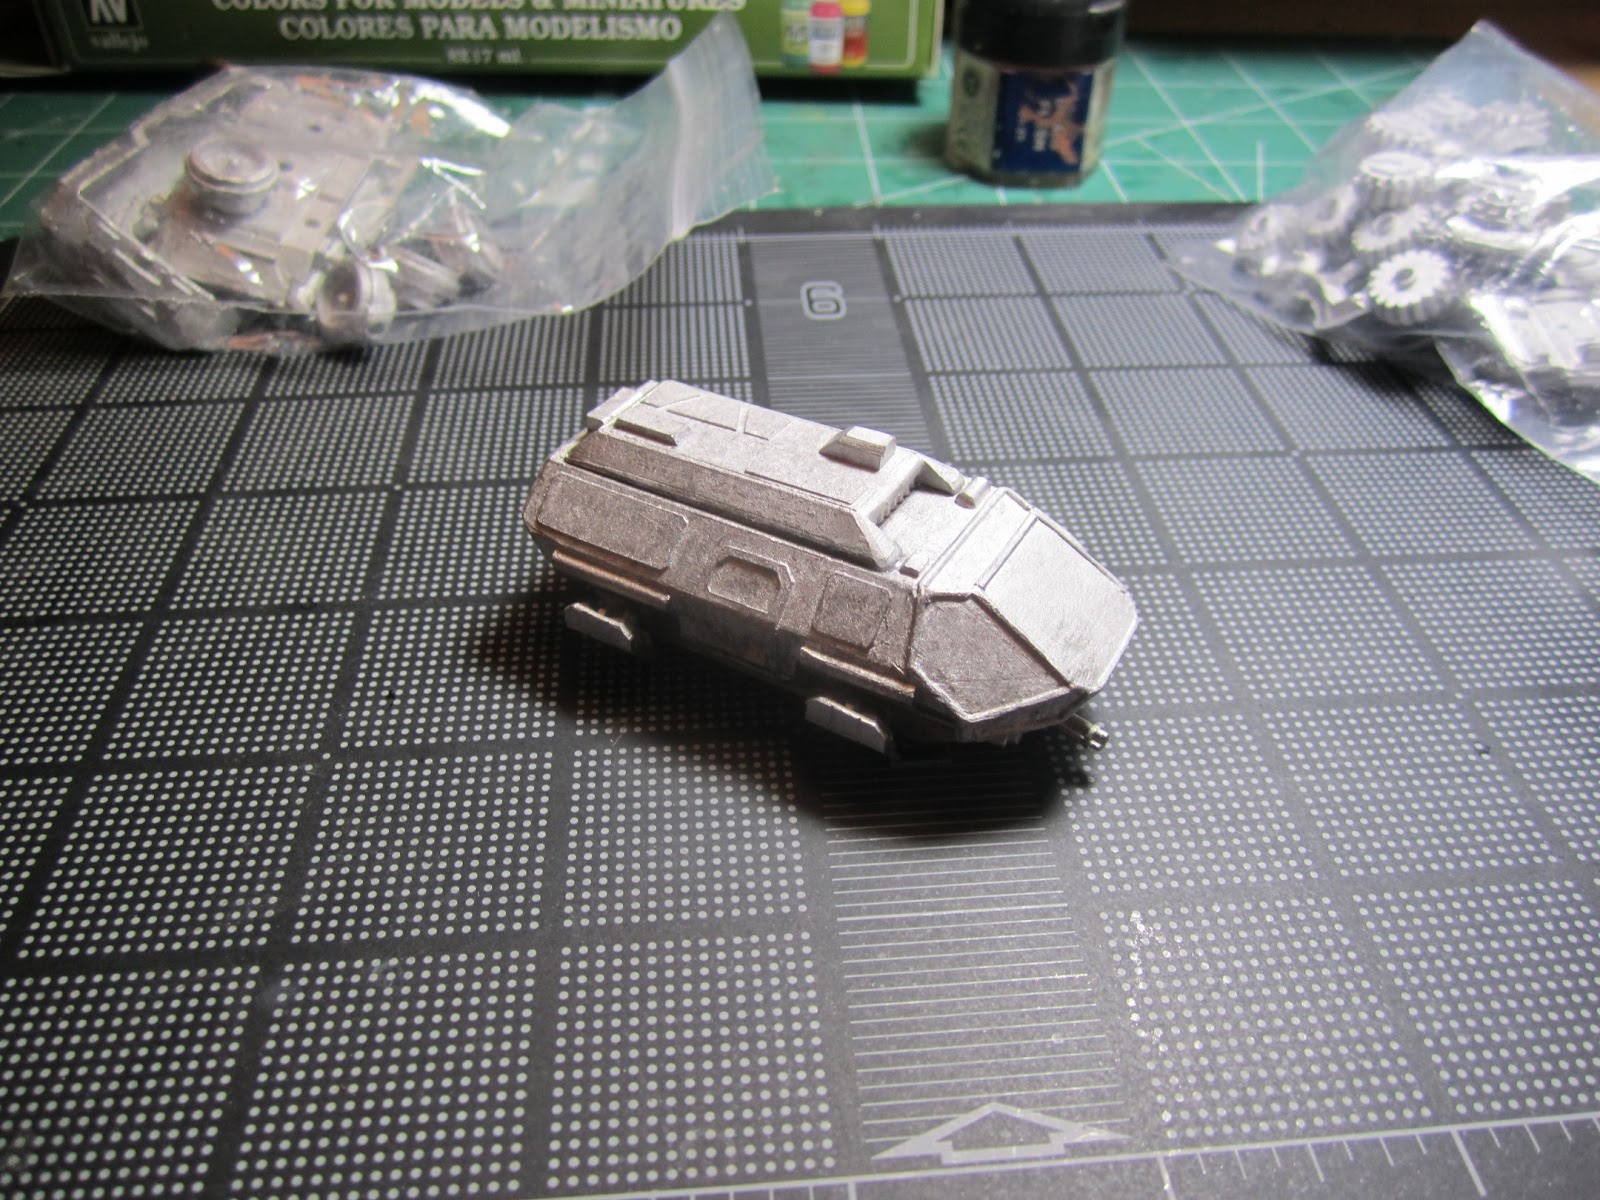
These are fit tests after I assembled the Hull and a quick size comparison. This thing is a beast!
The rare-earth magnets I use are from Harbor Freight tools.
I drilled a hole in the center here with a dremel tool. I painted the different poles so I would not get them mixed up, you can see some of the paint on there.
The resin is pretty light, so the magnets hold it together great, and it allows it to turn on it's axis.
Finished assembling the monster. I still have tons of parts left over!
It was pretty cold in the garage, so after priming it I stuck it (kinda) close to a heat source, just to keep it around 70' F.
I covered it in Silly Putty for the camo masking. Then I used a grey primer to get the second layer on it. Really not a lot of planning went into the masking, you just have to remember you're basically working in reverse, so wherever the masking is going it will remain the undercoat color.
After removing the masking and washing the whole thing down with devlan mud I start by using a dark grey to highlight the black.
Here I've decided to paint the cockpit, I'v used the "jewel" technique, and i'm about 80% happy with it. I also coated it with gloss varnish.
I've started going over the light grey with a darker grey to more closely match the other vehicles I have. I also leave some of the light grey/devlan mud wash visible to give it more of a texture.
The top is completed with the dark grey, now the legs.
The legs get the treatment, and the weapons get painted black.
Highlighting is done, on to applying the decals.
I'm using Heavy Gear Nucoal decals. I don't know much about the background, but I like the decals, so that's good enough for me :)
I paint gloss varnish in the areas for the decals first, then I apply the decals with a paint brush. I then apply some Micro-Sol setting solution and allow that to dry. I then go over them with a couple of coats of the Vallejo Matte Varnish. Once that drys I then paint the whole thing with the same Matte Varnish. I like using the paint on varnish because I've had some issues with the spray varnish.
I'll be taking better pictures soon, but here is a completed force. About 175 points in Gruntz. This thing is a monster, and you can't beat it for $35 US + shipping.
EDIT: As requested here is the mech on a cutting board. Each squad is an inch for size.